Roasting: Explained
Roasting and baking are two sides of the same coin. When I, or anyone else, refer to roasting they’re talking about placing a hunk of animal meats or vegetables inside of an oven until done. When they are dealing with adding bread, pastries, cake, etc. into an oven, they are talking about baking. In the following paragraphs, we are going to be diving into just what it means to roast, a few best practices to take, advice and also the additional equipment needed to make use of this simple cooking technique.
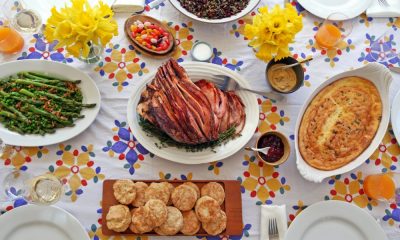
As I was growing up, it seemed like every single television show had a stereotypical stay-at-home mom that would be preparing a Sunday beef roast or taking out a pot roast that cooked throughout the day. I’m uncertain what actually happened to those fictional women as well as their dinners; nonetheless it looks like roasting has fallen from favor and barbecuing, deep frying and pan searing have taken its place. I am here today to hopefully change this particular trend and shed some light on why you ought to be spending more time roasting.
One of the more appealing reasons to roast is its straightforwardness. Just last night I wanted some chicken breasts to go in my salad. I had two possible choices: grill on the stovetop or toss it in the oven. Know which one I chose? If you’ve paid attention, ideally you already know I decided on the latter. As opposed to pre-heating a pan, butterflying the chicken breasts and after that standing attention whilst they cooked; alternatively I lined a sheet pan, put on the chicken breasts, seasoned and then stored in the oven for 35 minutes. After cooking, rather than cleaning and maintaining my cast iron skillet, I wadded up and tossed the aluminum foil. When the options are cooking on a stove-top or roast, I’ll take the roasting option 98% of the time. In addition to its simplicity, roasting also provides you with the most effective results. I will be speaking about this more in the next section, but in short, since you work with a thermometer versus a timer, your results are destined to be near perfect every single time.
Okay, now that we know what roasting is and good reasons to roast, let’s check out the specific equipment you’ll need before roasting your first meal.
Roasting Pre-Requisites
You only will want 4 main components in order to begin roasting:
- An oven
- A vessel for your food – roasting pan, dutch oven, baking sheet or something else similar
- An oven-safe thermometer
- Food
It should be painfully apparent that you’re going to require both an oven plus some food before you can start roasting. Additionally, it ought to be commonsense to know that you are going to require something to place your food on or in. You can certainly go and buy a roasting pan, yet in my experience that is not instantly essential; I have been roasting for a long time and have made due without a roasting pan just fine. All my roasting is done on sheet pans or in a dutch oven. When you’d like to get fancy and roast prime rib, that would be the time to buy a good, solid roasting pan.
Acquiring an oven-safe thermometer is really the only piece of specialized gear you will want for this task. Why would you use a thermometer versus setting a cooking timer? Well, that’s a bit complicated. When roasting, you’re aiming to get your food to the ideal temperature. For fowl, that’s 165°. For pork roasts, that’s around 155°. For beef roasts, that can range from 135° – 155° based upon individual inclination (however you are getting it all wrong when you go above 145° on your beef). As a result, most recipes will tell you to cook “X” pounds at “Y” heat until desired doneness. In a theoretical instance, let’s say you are going for a beautiful Beef-Eye Round Roast and the recipe requires roasting a four lb. round at 350° for two hours. Well, suppose you could only locate a five-pound roast? Let’s say you do not have two hours to spare for roasting? What if that recipe was cooked in a GE oven and you own a Maytag? These are simply a handful of the numerous possible variables you’ll have to deal with when roasting. A much simpler approach than guesstimating the doneness would be to invest in an oven-safe thermometer which can alert you when their food has arrived at the perfect temperature. At under $30, you can acquire an oven-safe probe style thermometer.
Roasting Tips/Recommendations
With this segment, I’d like to talk about some basic tips and suggestions to keep in mind while you are roasting. Some of these may appear to be no-brainers, but I am wishing you will find a nugget or two in here which you had not heard or thought of before.
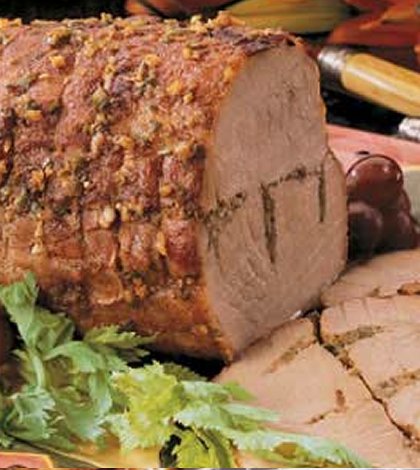
Concerning Pork & Beef, Low & Slow is the Best Method: If you were able to get a cross-cut of a pork tenderloin or beef roast, you would want to see a nice, juicy core at your target temperature and small, outer rings of meat that’s well done. This make sense to you, right? Ideally, you want the vast majority of your food to be at your target temperature, not overdone. Well, what are the results after you roast your hypothetical beef-eye round at 500°? You have an incredibly small area of meat that’s at 135° with the rest being extremely well done. The more desirable way to cook is to allow the temperature slowly but surely increase inside the beef where the majority of your meat reaches 135° and only the tiny, outer portions are medium and well-done. Roasting in between 200° and 300° provides you with a greater “sweet spot” as compared to roasting fast and furiously.
Rely on Your Probe Thermometer, Not Your Timer: Unlike frying or sautéing, roasting does not own a watch. As Alton Brown would declare, “it doesn’t have to worry about catching a train”. What I mean by this is that you should be entirely depending on your oven-safe thermometer for figuring out the cook times for your roasted meals, not your kitchen timer. Get into this habit and all that you roast should come out wonderfully on the first try. One rule-of-thumb that you can follow to help you estimate your cook times is to keep in mind that foods having a greater surface-to-mass ratio will cook more quickly. Or in other words, something in the shape of a rolling pin will cook faster when compared to something which looks like a toaster.
You are going to need to get proficient at inserting your probe thermometer in order to become a skilled roaster. Starting out, always embed the thermometer into the thickest section of your food because this will take the longest length of time to reach your target temperature. In addition, you need to stick your probe in from above and at an angle – this will protect against any of the delicious juices from getting away.
Rest Your Meat: One of the common errors I notice from newbie cooks is they take their meat directly from the oven or grill and promptly start slicing it up for serving and / or eating. No! Bad! Bad Cook! The correct course should be to set it off to the side while loosely wrapped in foil for 5 – 30 minutes. Precisely why would you do this? Well, let’s talk it out. The resting period gives the heat and pressure time to abate and for the juices/flavors to get reabsorbed into the meat tissues. Don’t trust me? Well, why not consider a simple test: take a pair of steaks and cook them the exact same length of time and doneness. Take one steak and instantly cut into it while permitting the other relax for Three – 5 minutes before cutting. Notice anything? The plate that has the steak that you immediately cut ought to be floating around in juices and not taste as great as the steak located on the well-rested, dry plate.
Do Not Trust Your Oven: Just because you set your oven to 350° and heard the DING! does not signify it’s time for you to open your oven door and toss in your meal. What that DING! means is that the heat of the air within your oven just barely hit the 350° mark. As soon as you open that door, all of that heat will rush out causing a substantially cooler oven – sometimes more than a 100° difference. What I suggest doing is actually letting your oven sit there for an additional 10 – 15 minutes so that the heat has a chance to seep into the walls of the oven, this will aid the temperature recover after opening up the door. Furthermore, especially for people that have older ovens, don’t trust your temperature settings. I recommend having a inexpensive oven thermometer so you can ensure the actual internal temperature of the oven.
Getting Crusty: The best meats always seem to have a crusty, practically crunchy exterior, while having a perfectly moist interior. It’s possible to accomplish that one of two ways: either by searing prior to roasting or searing at the end within your oven. The first option requires getting a separate pan sizzling on the stove-top and searing all sides for a couple of minutes before stashing in your oven. The other, more convenient, option is to set your thermometer’s alarm for 10° beneath your target temperature, taking out your meat and covering it closely with aluminum foil previous to cranking the oven up to 500°. Once 500° has been reached, put the food back in the oven and cook till you have a golden brown and delicious crust.
Need A Few Recommendations?
I hope you are enjoying our quick excursion of all things roasting. Naturally, around this stage, folks know the methods and tools driving roasting and they’re now anxious to try out a couple of recipes. Well, never fear because I’d Cook That has got your back. Below are a few superb recipes to help you get started on your roasting voyage:
- Roasted Whole Chicken with Poblano Peppers
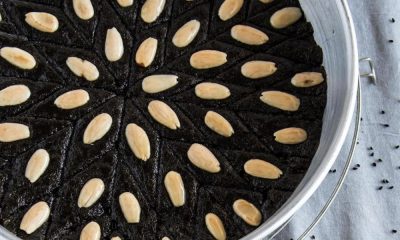
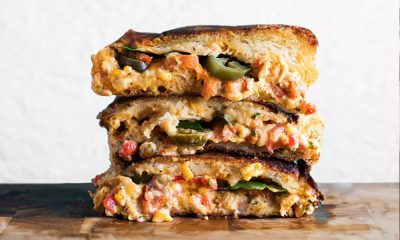
- Quiche
- Pork Tenderloin
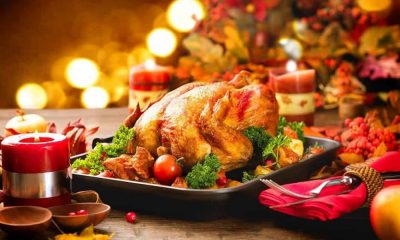
- Whole Turkey
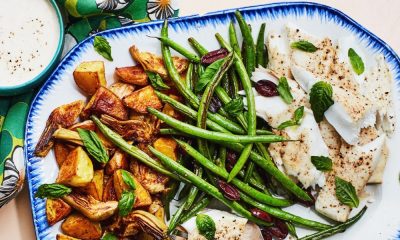
- Just about any sort of vegetable, I’m partial to squashes, brussel sprouts and sweet potatoes.
Brandon L Foken